PWI000007
this document applies to :
This document explains how to make minor presentation changes (Name, Address and Logo)
to a PowerINSPECT Excel Report Template, as normally agreed when customising a template
for a customer.
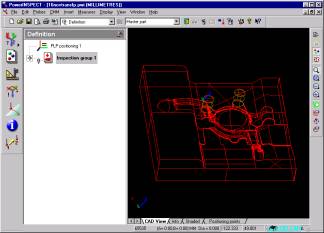
When you launch the Excel Report from PowerINSPECT ,
The Report is produced in Microsoft Excel. It is started either with the
·Excel Report Button or with
·File- Generate Excel Report
you will produce an Inspection Report in Microsoft Excel.
An Inspection Report normally consists of:
Information which is the same every time the report is printed
Information which sometimes changes for different parts or different customers
Inspection Results from PowerINSPECT- these are different every time
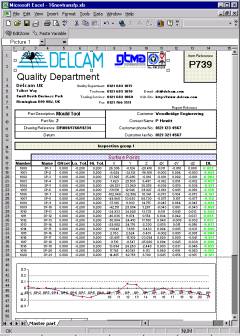
The Inspection Report follows a template created in another Excel spreadsheet. The Excel
Template spreadsheet determines the content and the layout of the Inspection Report.
This is a Template.
It is very similar to the report.
You can make changes to the Inspection Report by making changes to the Excel spreadsheet
Template.
You can make new Inspection Reports by copying an Excel spreadsheet Template and making
changes to the copy.
This document will show you how to make these changes to Excel Templates.
Any templates supplied with PowerINSPECT are in the same directory. If you create any new
templates, you should “Save as” in that same directory.
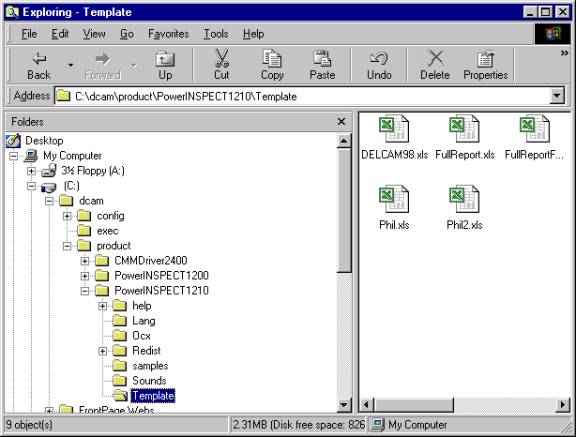
PowerINSPECT is normally found in C:\dcam\product Within the PowerINSPECT folder there
should be a sub-folder called “Template.” This is where the Excel templates
should be saved.
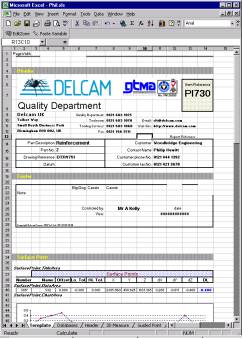
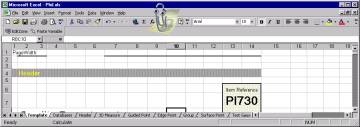
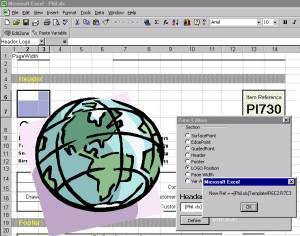
If you open an Excel template file you will see a number of ‘tabs’ at the bottom
of the window. Clicking on these tabs will allow you to transfer between different pages
or ‘worksheets’ within the document.
![]()
The different worksheets have been carefully designed to produce reports on all the
different inspection features in PowerINSPECT. You should make changes to only two
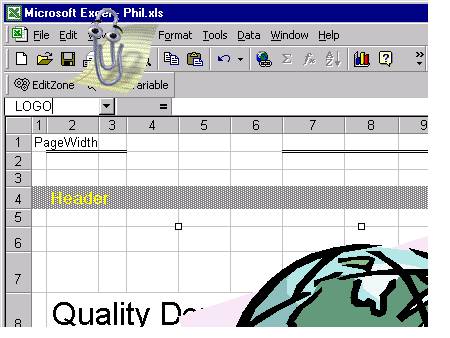
worksheets: The Template (shown above), and The Header (shown below)
![]()
As described in the Introduction there are three types of information in the Excel Report:
This includes things like your company logos, address and contact details.
 This information is often right at the top of the report
and usually gives information about your company- not the contents of the report.
This information is often right at the top of the report
and usually gives information about your company- not the contents of the report.

This will usually identify who the report is for, and what part it describes. It will
normally be near the top of the Inspection Report (what we would consider the
‘Header’), or at the bottom.
The layout and contents may need to change according to customer requirements, as the following examples show.


The actual contents of these sections are determined by the user in the PowerINSPECT session:
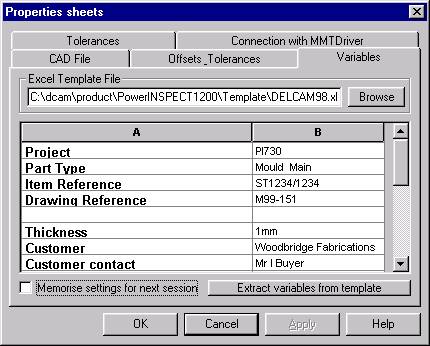
Template choice & Header information
This is determined at the beginning of the inspection but can be modified later.
The actual PowerINSPECT inspection data is the third part of the report.
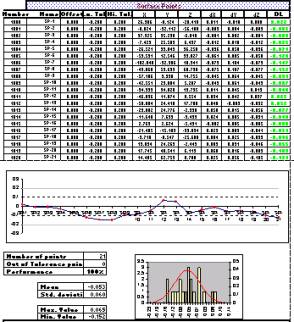
The inspection data consists of point coordinate data and graphs. This is outside the scope of this document: normally only the presentation needs to be changed.
This is: “Information which is the same every time the report is printed”
There are two aspects to the company logo:
1 The picture file
2 The positioning in the template
Go into the ‘Template’ worksheet.
![]()
Find the logo picture
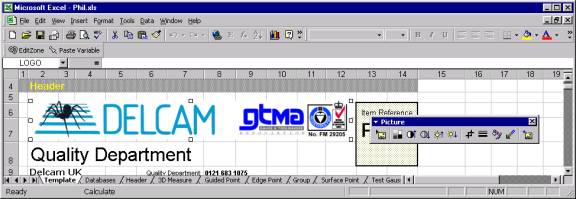 Picture Toolbar Name Box Logo is selected When you
select the logo:
Picture Toolbar Name Box Logo is selected When you
select the logo:
1 It will be surrounded with selection boxes
2 A Picture toolbar will be displayed
3 The “Name Box” will show “LOGO”
1 Delete the old logo
2 Insert a new logo with the Insert Menu
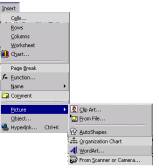
Choose the logo and insert it

3 Name the new logo “LOGO”
Type “LOGO” in Name Box
The Template has custom features to allow you to make changes like this.
A toolbar has been provided for these features.
![]()
Click on “EditZone” to resize the logo. This brings up the “Zone Edition” box.
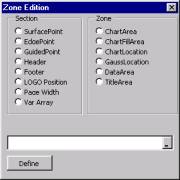
Click on “LOGO Position”
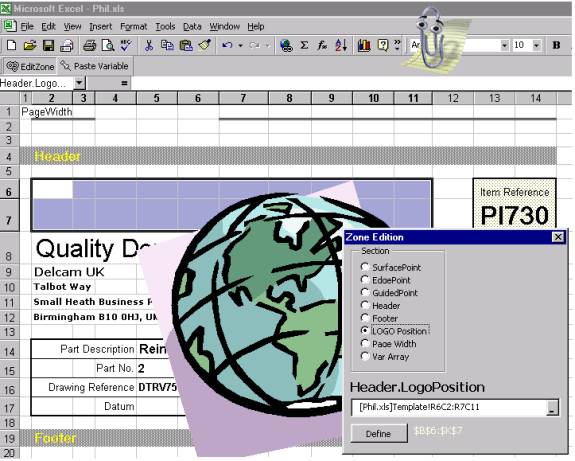
This will show where the logo is to be drawn. In this case the logo would be drawn in the highlighted box, from row 6 column 2 to row 7 column 11.
This is why the Header.LogoPosition box ends in R6C2:R7C11. It runs from row 6 column 2 to row 7 column 11.
Note that the logo will cover this entire area. If we print this report as it is now, it will come out like this.
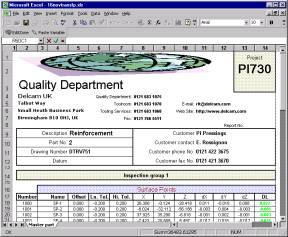
The logo scales to fit the area defined.
The logo is scaled to fit the defined area.
We need to redefine the logo area to keep the logo in proportion. We might use row 6 column 2 to row 7 column 3 for this logo.
Click on “EditZone” again and redefine a new area.
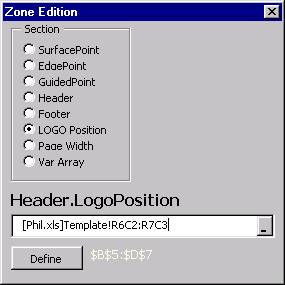
Click “Define” and this will change the area.
A confirmation box will appear.
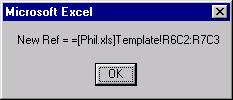
Click OK and the area will be changed.
You then need to click on the X in the top left hand corner of the “Zone Edition” box to remove it.
This is the template. The logo area is shown highlighted.
The logo will then fill this new area when you generate an Excel report.
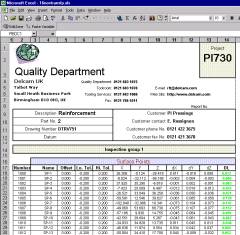
This is the Excel Report as printed. The logo fits in the area.
For ease of use it is worth moving and resizing the picture to fit approximately in the printing area, by dragging and clicking.
This is the template, with the logo resized by hand. It is not actually necessary to do this- but it makes it a lot easier to understand!